Pro Editor Configurable Products
Welcome to the Pro-Editor Software Connection Troubleshooting Guide.
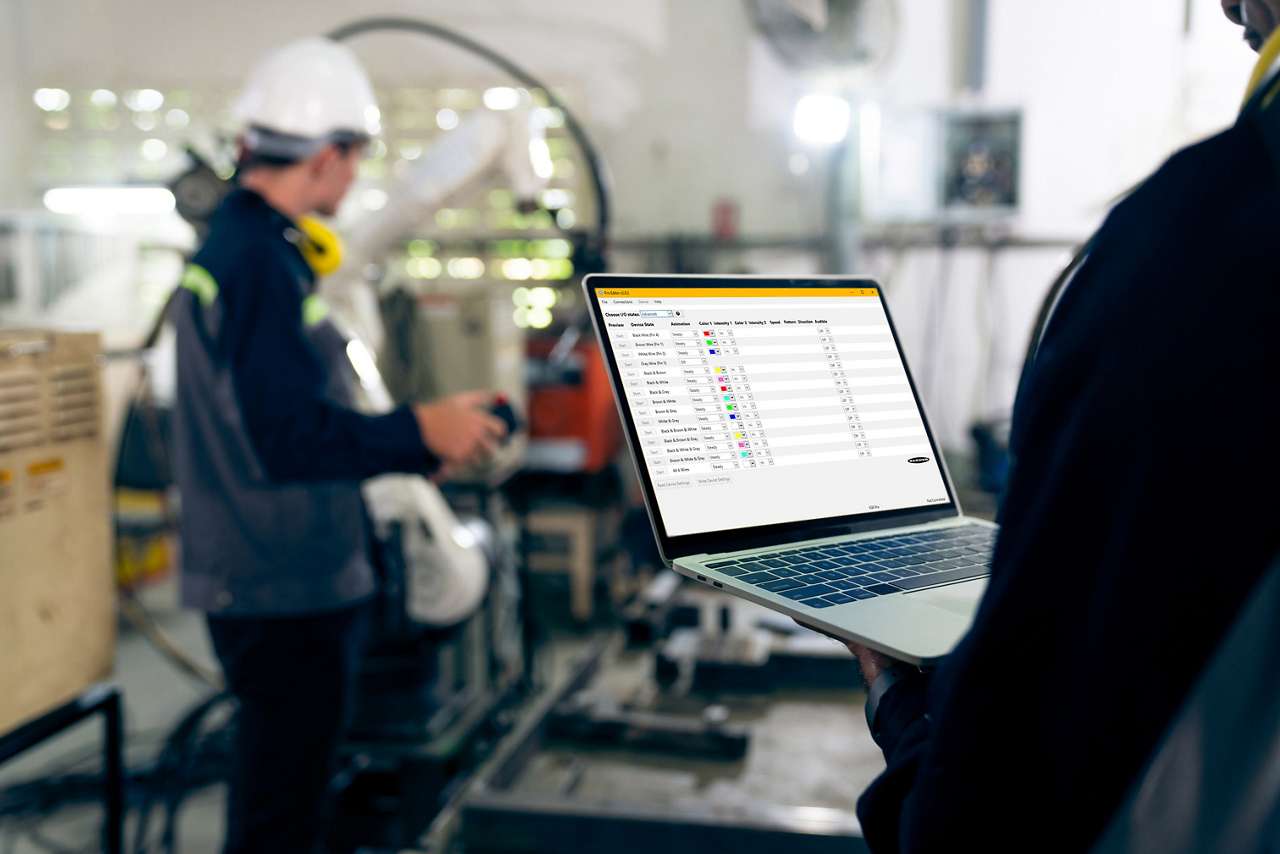
The first step in connecting a Pro-enabled light to a Windows PC is to follow the diagram in the datasheet.
Plug the Pro-Editor cable into a USB port on your Windows PC and hit 'Connect'.
If the device gets recognized right away, then great, you're all set.
If not, there's a few troubleshooting steps we can take.
If you are still unable to connect, click on the dropdown menu and check which components are available.
Unplug the cable and then click the 'Refresh' button. Click on the dropdown menu again, and you'll notice that one of the Comm Ports has disappeared.
The one that disappeared is the one that we want to use to connect.
Plug the cable back in and hit the 'Refresh' button again. You can see that after the 'Refresh' button was clicked, a new Comm Port became visible.
Select the new Comm Port and try connecting again. If it doesn't work the first time, try connecting once more, using the same port.
If you're still unable to connect, check your firewall permissions and make sure it isn't blocking the connection.
If you're still having issues, please call the Application Engineers Department at 1-800-373-6767.